How To Diagnose A Failing Brake Pad
The brake pads are such important parts of your car’s braking system that when they fail, you’ll have a hard time stopping your car and could cause a pretty serious accident.
The sooner you confirm that your brake pads are on the fritz and the sooner you replace them, the lower the risk for an accident. This guide will show you how to check your brake pads and accurately identify bad ones.
Symptoms of Bad Brake Pads

When you notice some of the symptoms listed below, you should check your brake pads ASAP:
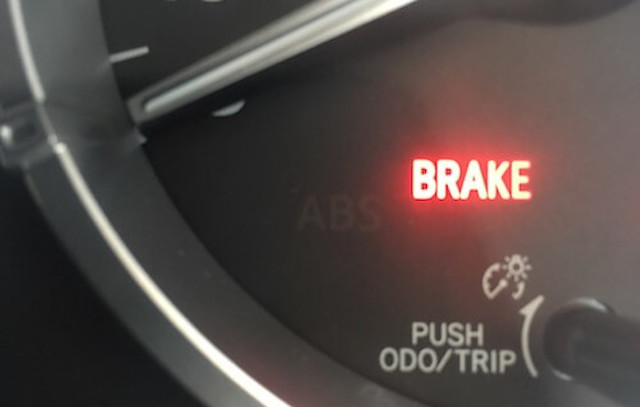
- Brake light coming on
- Spongy pedal
- Strange sounds when braking
- Grinding, squealing, scraping
- Vibration in the brake pedal
- Vehicle pulling to the side when braking
- Burning smell from metal-on-metal contact
- Longer stopping distances
Accessing the Brake Pads
To check your brake pads, you need them in front of you. That means removing the brake pads from the braking system. Here's how to do this:
- Lift your Land Rover safely.
- Remove all of the wheels you're going to be working on. It's important to note that you should always replace all the brake pads on the same axle to ensure even braking performance.
- Pick one rotor to work on first. If it's on the right side of the car, turn the steering wheel all the way to the left (or move the rotor with your hands). If it's on the left side of the car, turn the steering wheel all the way to the right. This is so you can access the bolts behind the caliper more easily.
- There are two bolts that attach the caliper to the caliper bracket. With a 13mm socket and ratchet, remove both of these bolts. They're located on the back side of the caliper. You might want to use a skinny 17mm wrench to hold the nut while turning it, but it's not necessary.
- Pull the caliper off the rotor and set it somewhere nearby. Don't let it hang by the brake line. If you don't have a box or anything to support the caliper without putting any stress on the brake line, you can hang the caliper from the axle or control arm with a bungee cord.
- Remove the brake pads from the caliper.
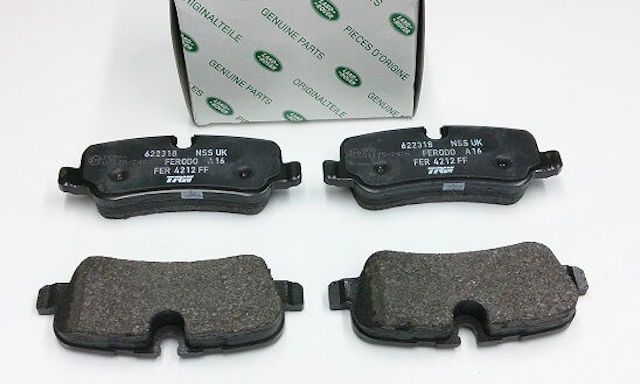
- Visually inspect the brake pads.
What Does a Bad Brake Pad Look Like?

The first thing you want to do is to measure the thickness of the friction material left on the brake pads.
- If the friction material is over 1/4 inch (6.4mm), the pad still has a lot of life left. However, you still want to visually inspect the pads for other issues.
- If the friction material is about 1/4 inch thick, the pad is still OK to use, but it will need to be replaced soon.
- If the friction material is 1/8 inch (3.2mm) thick or less, the pad is worn and needs to be replaced immediately.
You also want to visually inspect your brake pads for the following issues:
- Uneven wear, which may mean warped rotors and/or piston or caliper issues
- Cracks, glazing, or lifted edges, which usually means a defective pad or caliper
- Outer pad wear, which may mean malfunctioning guide pins, bushings, or slides
- Inner pad wear, which might mean a worn seal or a malfunctioning caliper
- Tapered pad wear, which usually means excessive guide pin wear or the sliding caliper seizing on one side of the pad
Where to Find Affordable OEM Brake Pads
If you’ve determined that your brake pads are either bad or going bad, you’ll need to replace them soon if you want your Land Rover’s braking performance to remain optimal. Good news - you can easily find genuine OEM Land Rover brake pads online by looking up your model year in our catalog. Even better, we offer deeply discounted prices, so you'll get a great deal on OEM brake pads if you order a set from us. We also offer fast shipping, so you'll get your new brake pads in no time. Shop now!

